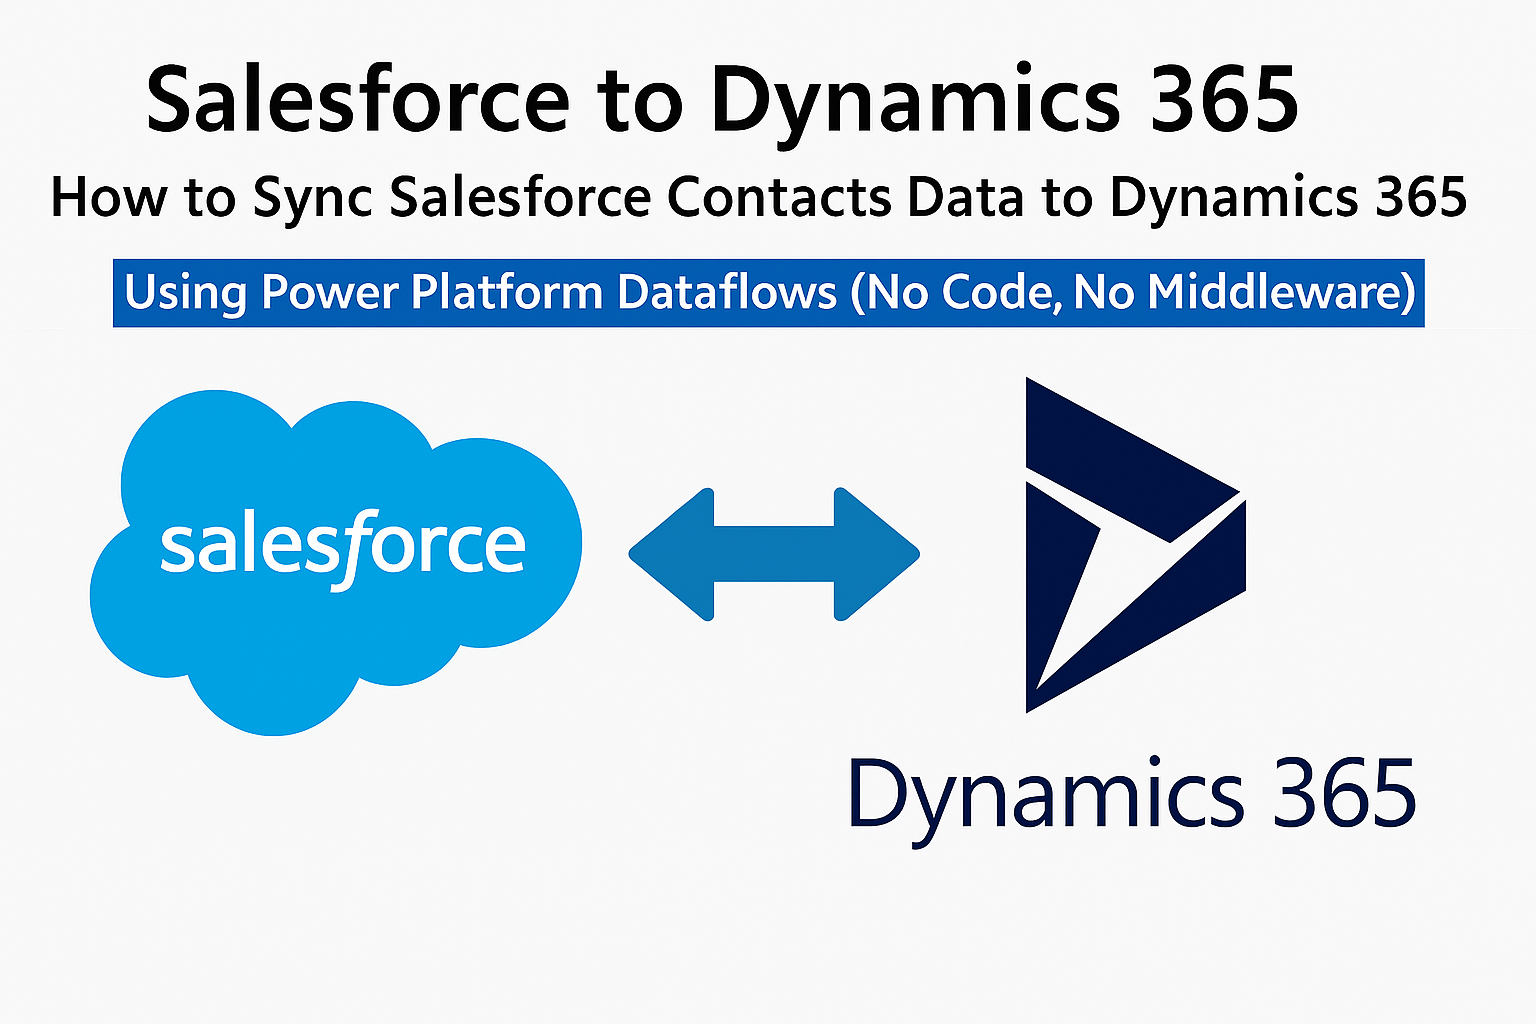
Are you looking to bring your Salesforce Contact data into Dynamics 365 without complex middleware or coding? Power Platform makes it simple with Dataflows, offering a low-code, scalable way to sync data from Salesforce into Microsoft Dataverse (the underlying platform of Dynamics 365).
In this blog, I’ll walk you through step-by-step how to set up a dataflow to pull contacts from Salesforce and map them into Dynamics 365 Contacts.
🚀 Why Use Power Platform Dataflows?
- No-code integration using Power Query (same as Excel and Power BI)
- Direct support for Salesforce connectors.
- Works with any Dynamics 365 app (Sales, Customer Service, etc.)
- Can be scheduled, refreshed, and monitored easily. (No code)
🧰 Prerequisites
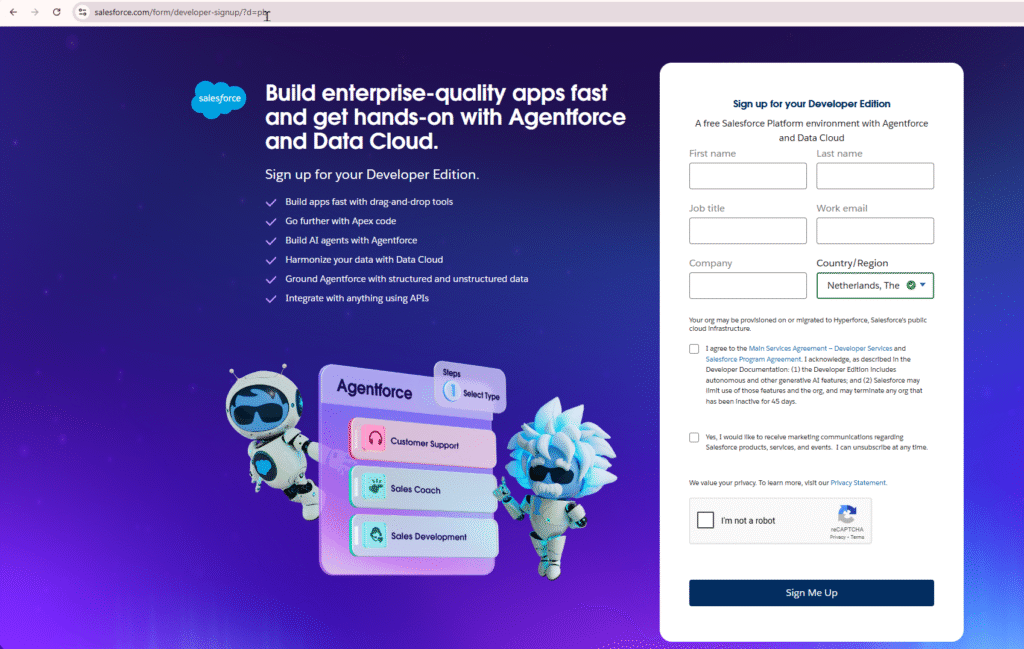
- ✅ Salesforce Developer Trial
Sign up here: https://developer.salesforce.com/signup - ✅ Dynamics 365 Sales Trial (Dataverse Enabled)
Start free trial: https://trials.dynamics.com - ✅ Access to Power Platform Admin Center / Power Apps Maker Portal
Go to: https://make.powerapps.com
🛠️ Step-by-Step: Create the Dataflow
Step 1: Prepare Your Salesforce Environment
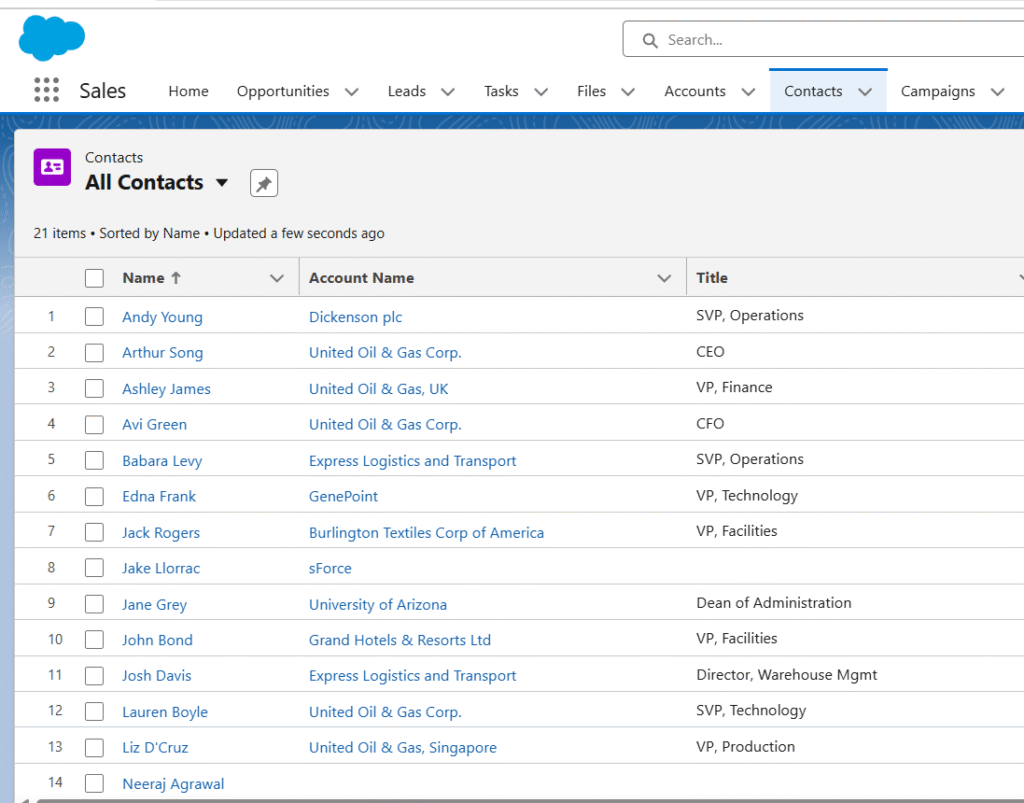
- Log in to your Salesforce Developer Org. I have created a trial environment for demo purpose.
- Navigate to Contacts -> Create a few sample contacts or we can use the already created contacts records. As shown below, we will sync these contacts in dynamics 365.
- Note the field values (Name, Email, Phone, etc.)
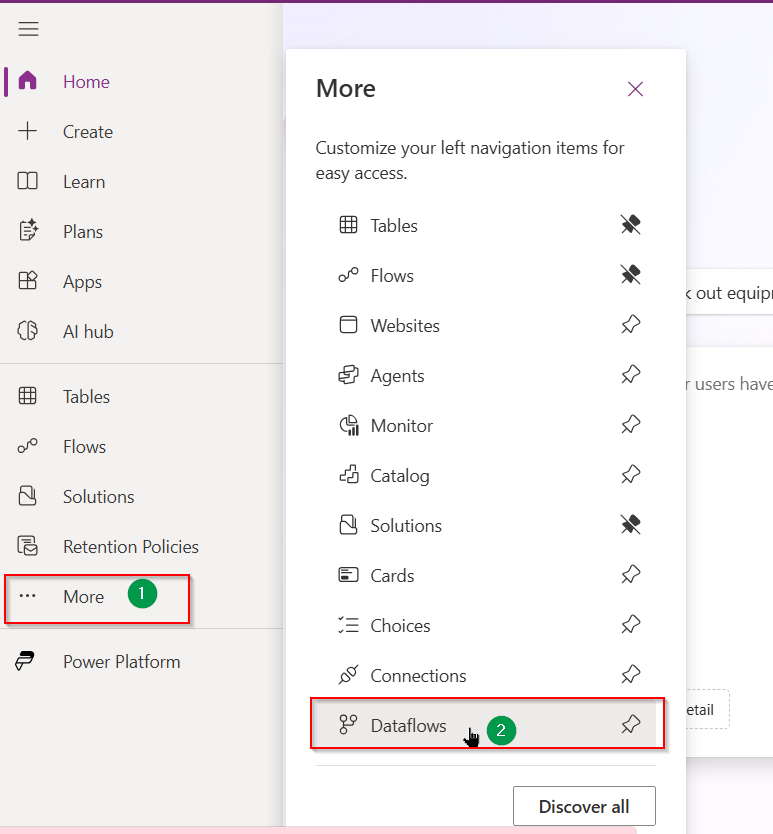
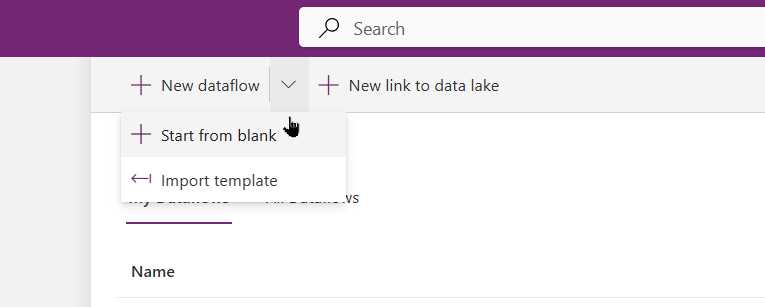
Step 2: Start a New Dataflow in Power Apps
- Go to https://make.powerapps.com and choose your environment on the right side.

- Click on Data → Dataflows → New dataflow
2. Select Start from blank
Step 3: Connect to Salesforce
- Choose Salesforce Objects as the connector
- Use Production or Sandbox depending on your trial
- Authenticate with your Salesforce credentials
- Select the Contact object from the list
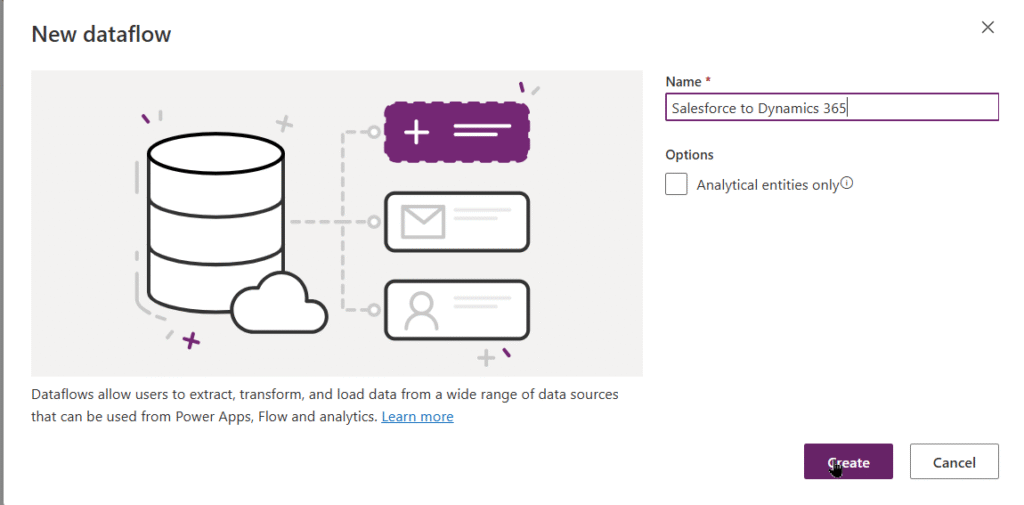
I am setting the name to “Salesforce to Dynamics 365”. Click Create

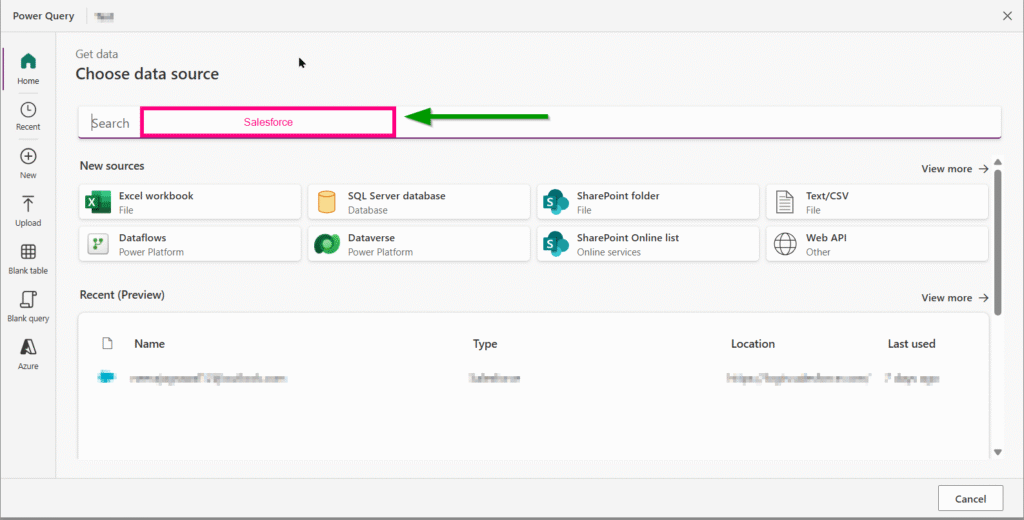
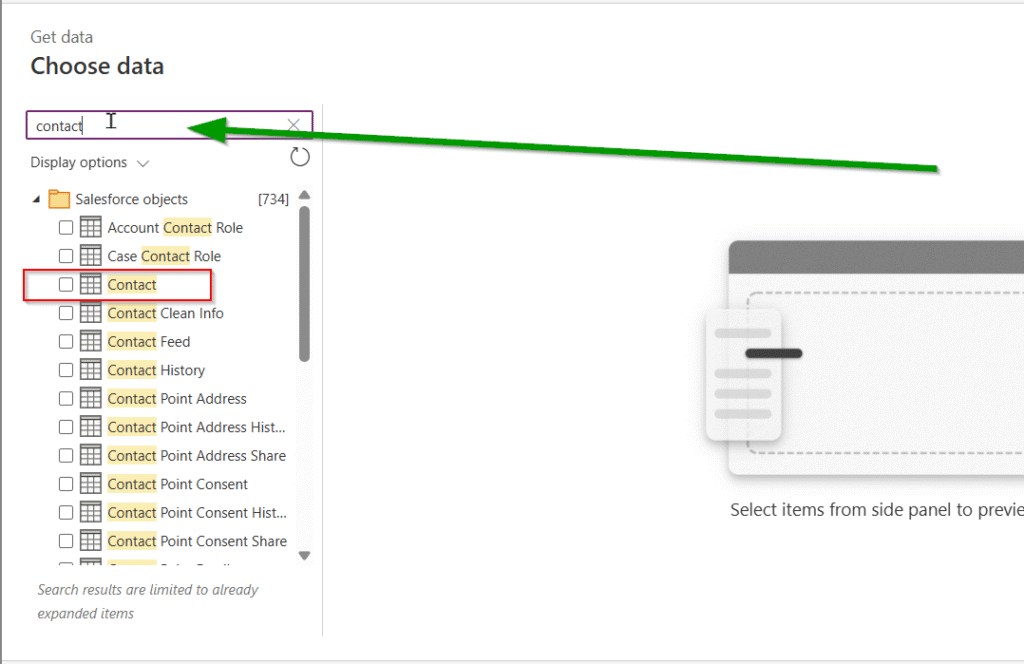
Here choose the data source. I am writing “Salesforce” here.
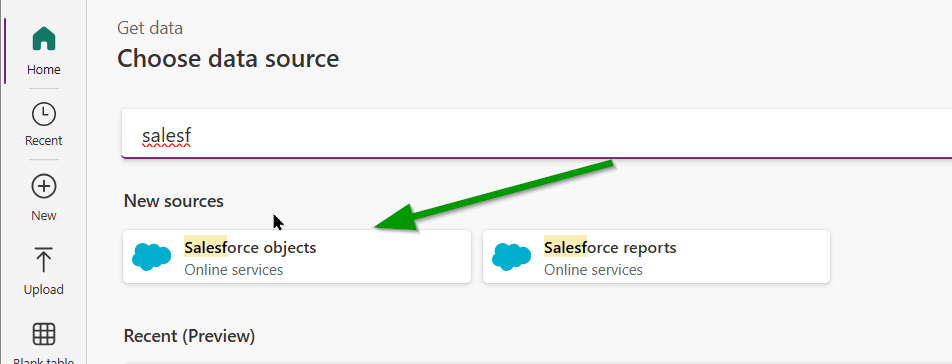
After typing, You will get the below options. Choose Salesforce objects.
Here you will select Production option and you will be asked to login to your salesforce trial account. While making connection, you have to click on Allow.

Step 4: Transform the Data with Power Query
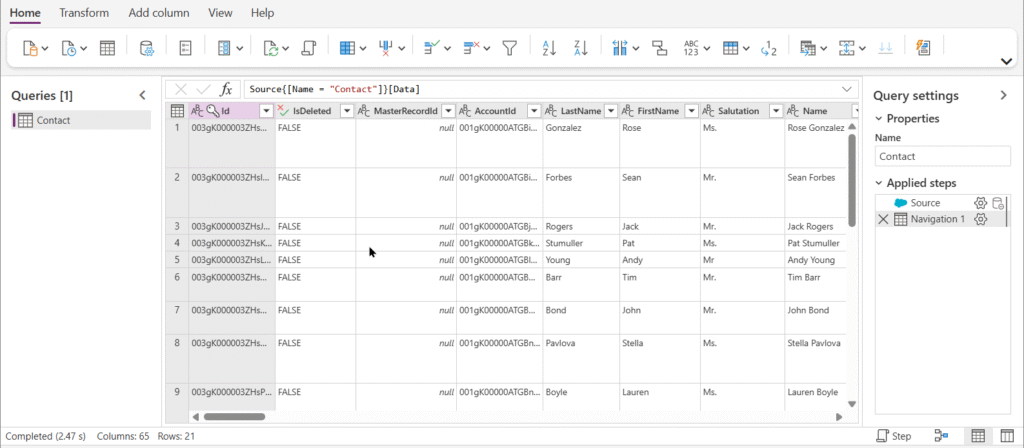
After successful login, you can type “contact” here and then the contact data from salesforce will appear here. You also have option to use powerquery here. Click on ‘Transform data’.
I can see the salesforce data here below. Click Next.
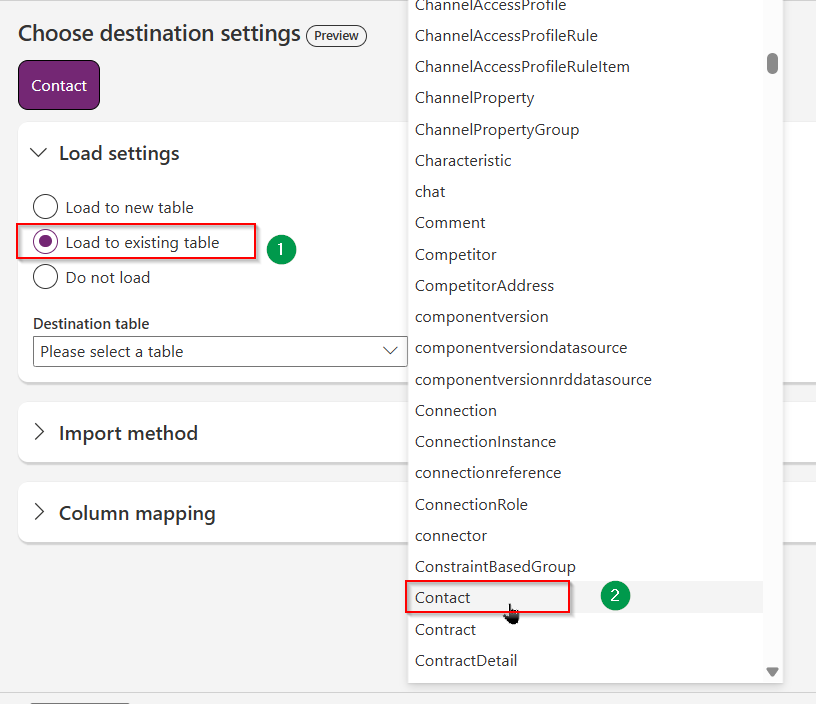
Step 5: Map to Dataverse Contact Table
- Choose Load to existing table → Contact
- Map the fields
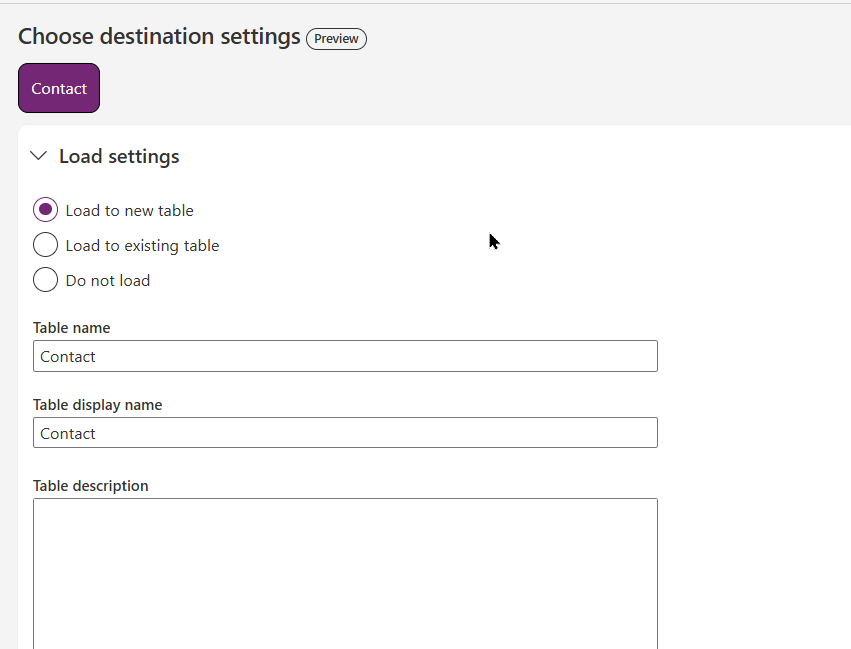
Here we will choose the destination table, for our demo we will choose contact from the below option. If you want to load it to the new table you can also do that.
Here I am choosing Append option. You can also choose Merge if you have duplicate records.
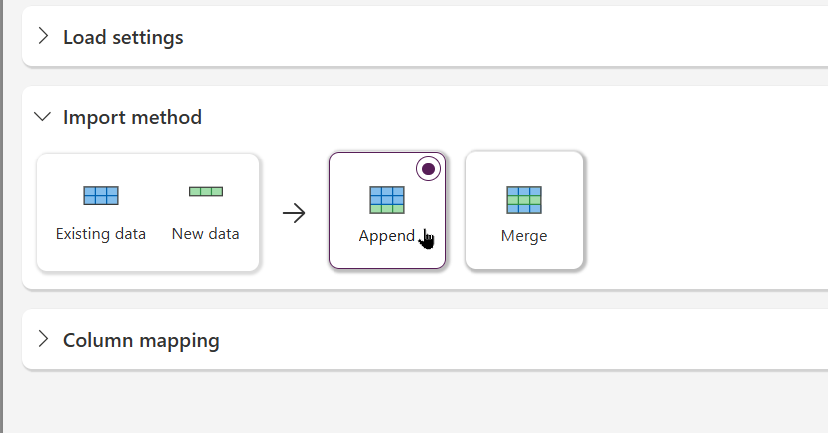
Field mapping needs to be done here. Highlighted section needs to be modified. Click publish.
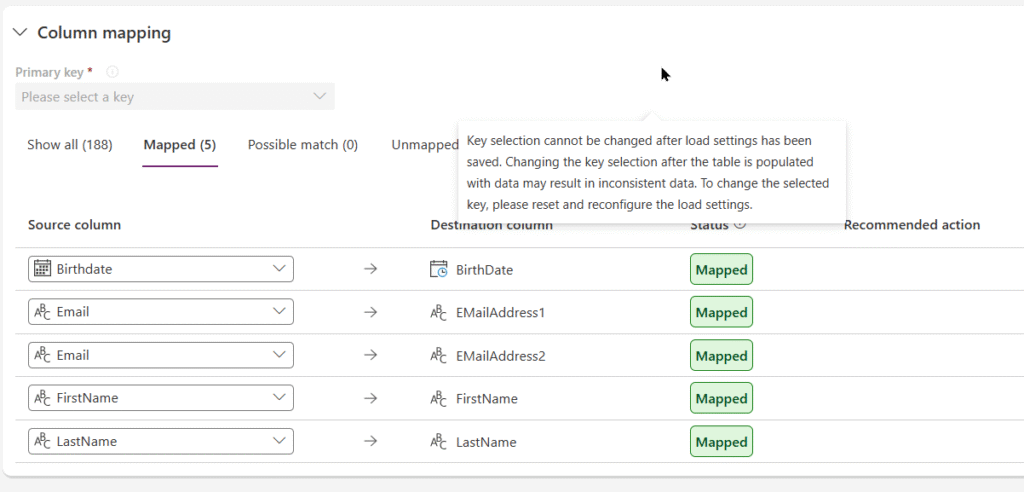
| Salesforce Contact | Dynamics 365 Contact |
| FirstName | firstname |
| LastName | lastname |
| Birthdate | Birthday |
Step 6: Save and Refresh
- Save and close the dataflow
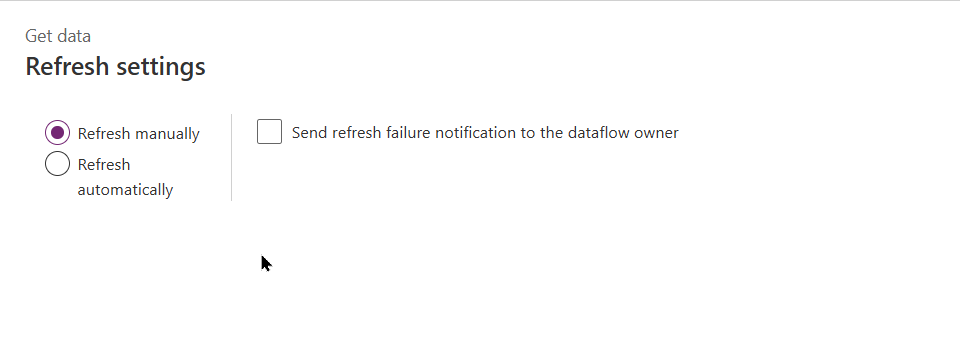
- Choose Manual or Scheduled refresh
- Run the first refresh manually to validate
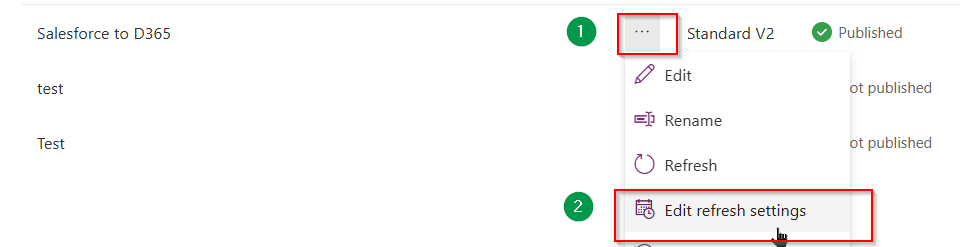
You can click on below button to reschedule/edit the dataflow. You can also view the refreshing history.
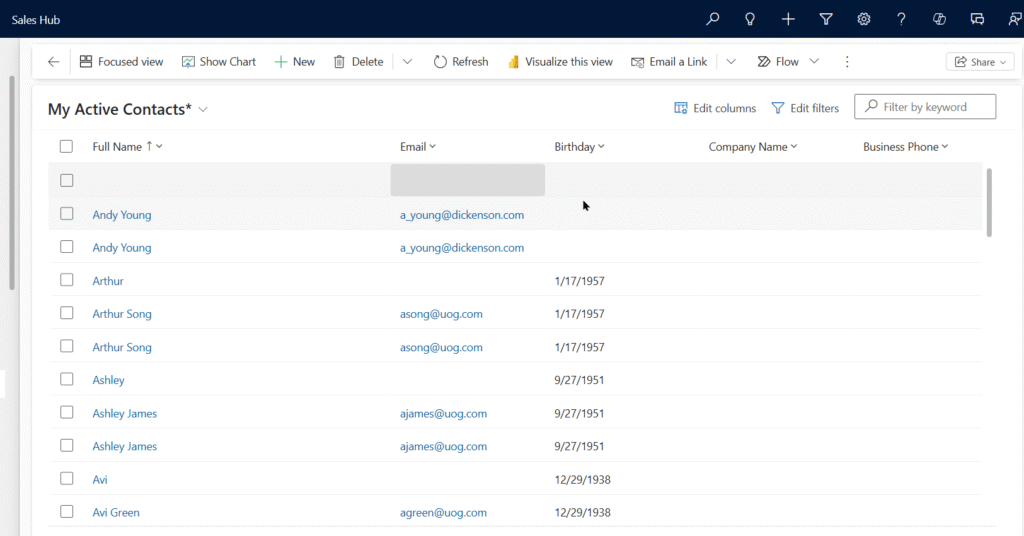
Step 7: Verify the Data in Dynamics 365
- Go to Dynamics 365 Sales Hub.
- Open Contacts.
- Filter or search by newly added contact data.
- Open a record and verify fields were mapped correctly.
Additional Tips
- 🔄 Use externalcontactid (custom field) to prevent duplicates and enable re-sync.
- 🛡️ Create a backup or test in a sandbox before syncing into production.
- 🧩 Extend the dataflow to include Accounts or Leads later.
✅ Summary
You’ve now created a fully working Salesforce to Dynamics 365 Contact sync using just Power Platform tools, no code, and no third-party integrations.
It’s ideal for:
- Migrations
- Light syncs between CRM systems
- BI and reporting in Power BI
📦 Next Steps
- Add Accounts, Leads, or Custom Objects.
- Schedule automatic refreshes.
- Create a dashboard to monitor synced records.
Thanks for Reading 🙂

Dynamics 365 Senior Consultant with deep expertise in customization, optimization, and integrations. Committed to giving back to the CRM community by breaking down complex concepts, sharing real-world insights, and helping others succeed with Dynamics 365 & Azure.
One response
Good detailed and informative.