Timer-triggered Azure Functions are commonly used for background tasks like cleanups, data syncs, or report generation. But debugging them locally in C# requires a few steos. Here’s how to do it.
I will cover below topics :
- How to Create Time Trigger Azure Function
- How to Debug the time trigger azure function locally
How to Create Time Trigger Azure Function
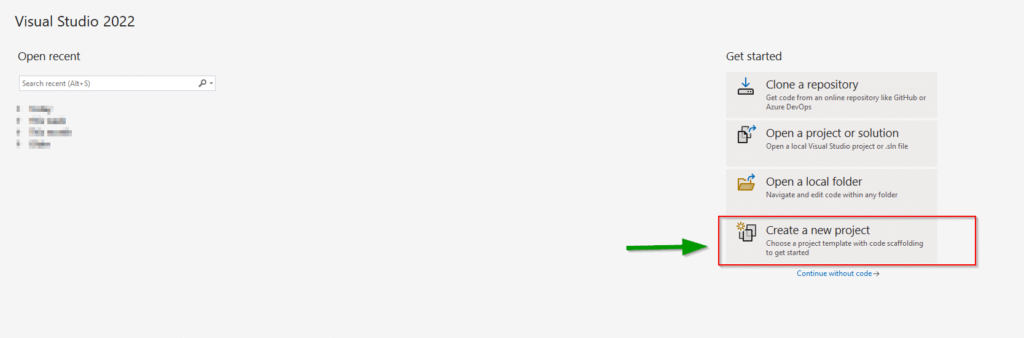
- Open Visual Studio 2022 and then click on ‘Create a new project’ as shown below.
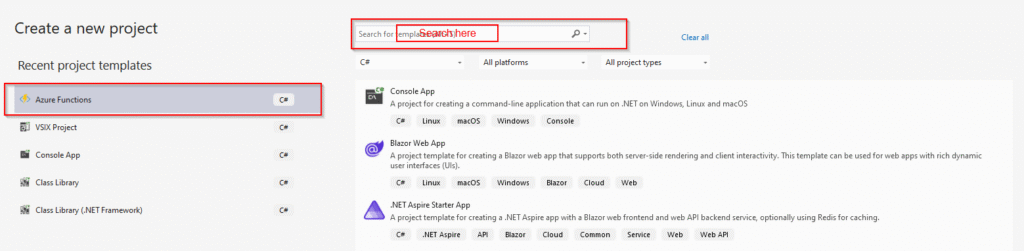
2. I assume you already have azure tools installed. In the search bar, search for Azure Functions.
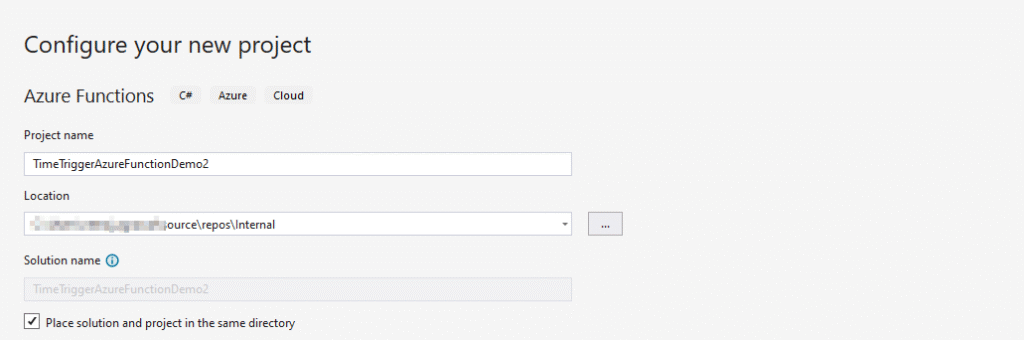
3. Set your project name and location where you would like to save your project. Click next
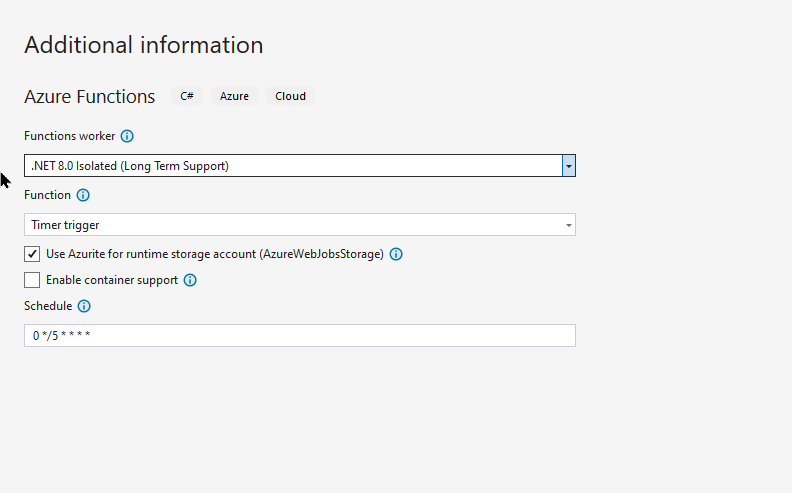
4. In this select the function worker, you can also select .NET 9. I have selected .NET 8 isolated for this demo. In the function section, you can select Timer Trigger. There are many other options available such as HTTP, Queue Trigger etc.
In the schedule you can define when do you want to run your time trigger azure function. Click create
5. After creating the azure function, it will look like this. Rebuild the code once. Please note local.settings.json is already provided by Microsoft.
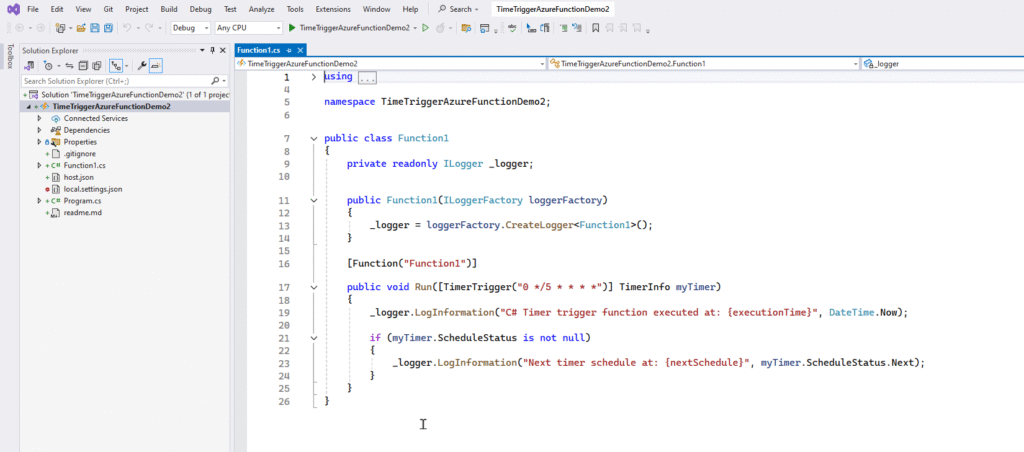
6. You can add your logic further and dependencies further. Happy coding.
How to Debug the time trigger azure function locally
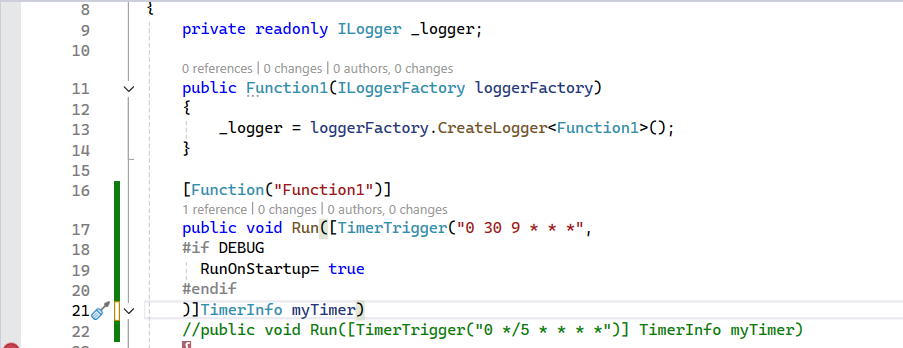
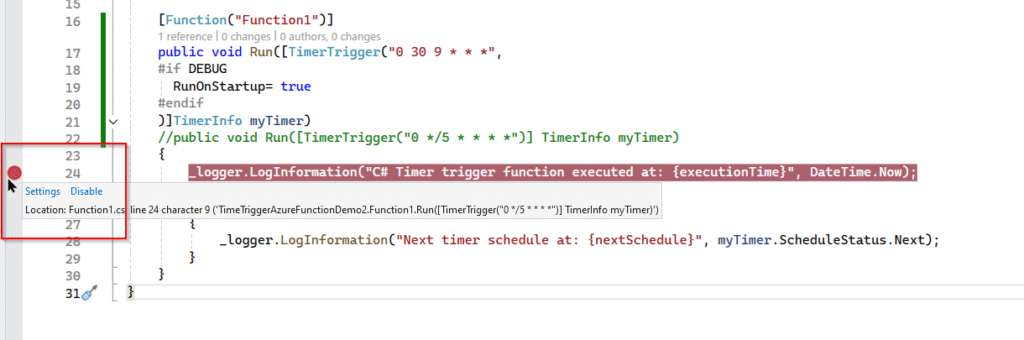
- In order to debug the code locally, replace the function start to this. Note here RunOnStartup keyword is used.
public void Run([TimerTrigger("0 */5 * * * *",
#if DEBUG
RunOnStartup= true
#endif
)]TimerInfo myTimer)
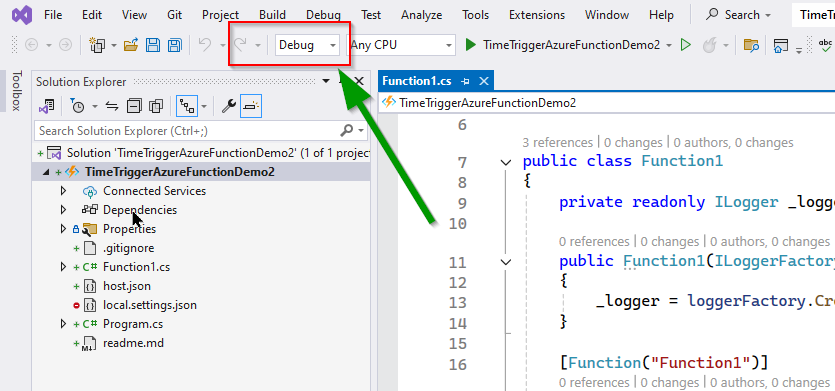
2. Please ensure you are using “debug” mode for this purpose. In your local.settings.json you can add the relevant values.
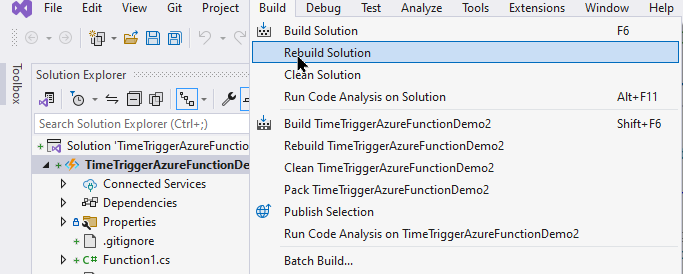
3. Rebuild the solution.
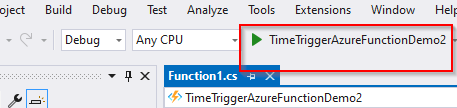
4. Then start debugging by clicking on this below. Dont forget to put the debugger point where you want to debug.
5. Console screen will start loading and the debugger will be hit just like shown below. You can now then start further.
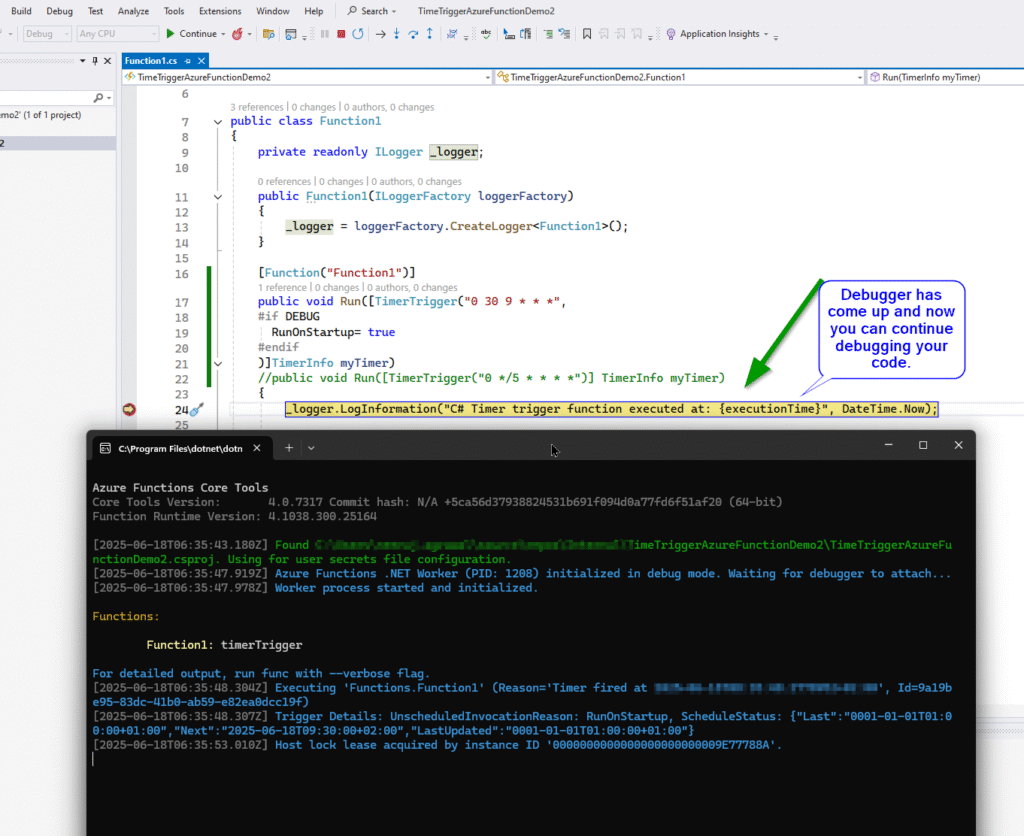
Please note this should only be used for development purpose and not for release version.

Dynamics 365 Senior Consultant with deep expertise in customization, optimization, and integrations. Committed to giving back to the CRM community by breaking down complex concepts, sharing real-world insights, and helping others succeed with Dynamics 365 & Azure.
No responses yet